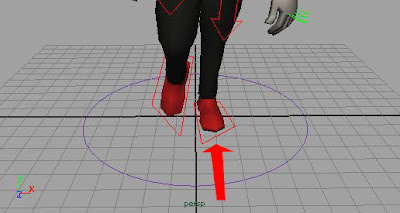
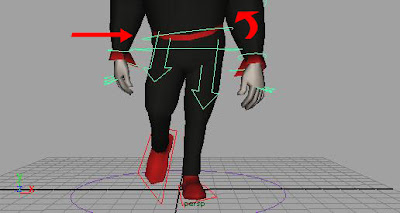
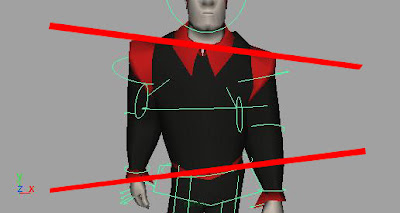
Almost every type of action we can classify as a "jump" shows certain shared key movements, or "beats". These are described as:
Rest 1
 This is your starting pose. It's not very complex, but it's necessary to begin your animation this way. I suggest paying attention to where your feet are in the rest pose so that you don't have to shift them to get into...
Compression 1
 This is the "squash" part of our jump / bouncing ball analogy. Depending on the type of jump you are doing, this pose may be very exaggerated like mine, or it may be quite subtle, such as a simple bend of the knees and shift of the arms.
Extension (optional)
 This is the "stretch" part of our jump / bouncing ball analogy. Keep in mind that the extension doesn't necessarily include the whole body; you're not stretching your character out on the rack. Power for a jump comes from the toes, up through the legs, into the hips, and out through the torso. The arms are there primarily to aid in generating momentum / balance, even in a small or clumsy jump. I label this pose as "optional" because if you are doing a smaller jump, the extension pose may be easily confused with the...
Float
 The float pose comes at the very top of the jump, when your character's momentum has reached equilibrium with gravity. A high, athletic jump like mine has a very pronounced float, in which my character is reaching for something, so his arms are at their highest point here. A more subtle jump may not do much with this pose, but you need to describe the height of the jump somehow.
Contact (optional)
 This is the moment of impact after a high jump, when the character is searching for balance right before landing. The primary use for this pose is in determining body position before the legs take on weight again, but it is also optional because in a smaller jump the character might have a very soft landing and fall straight into...
Compression 2
 The second compression will almost certainly be weaker than the first, just like the second squash on a bouncing ball, which has lost some of its energy from the first bounce. Balance is the main thing to decide here: does your character fall over after landing? Sprain her/his ankle? Spring back into another jump? Pose triumphantly? The resulting angle of descent between the float and compression 2 poses determines what happens next in the...
Rebound
This pose may be barely noticeable if your jump is very low, but it is absolutely essential. Also, called a "settle" sometimes, this pose gives the necessary reciprocation after compression 2. Without it, your landing will feel weak or outright false.
Rest 2
 Finally, a return to rest. You need this just to close off your animation. In a more complex action, this pose might not happen: the character might jump again or run off screen, or who knows what else. But none of those are options for you this week, so keep it simple and let him rest at the end!
Rest 2
 Finally, a return to rest. You need this just to close off your animation. In a more complex action, this pose might not happen: the character might jump again or run off screen, or who knows what else. But none of those are options for you this week, so keep it simple and let him rest at the end!
For the reference we used in class, see this youtube link:
http://www.youtube.com/watch?v=tXKCiaJsn8Q
Or to download a higher quality copy, try this link:
http://www.jedmitchell.com/jump_ref.mp4
If you are doing a less athletic jump, or a different style, get some more reference, youtube is full of the stuff! I applaud originality, but while you are still learning the ropes, reference can make the difference between pass and fail, so go find some! Or shoot some yourself. Or draw it. However you do it, go out and study some jumps before getting started on this assignment. Research up front will make a world of difference in the end.
By Monday, I would like you to have a new project directory to give me, with at least 6 poses (the extension and contact poses may not be necessary if you are doing a lower or less athletic jump) in your scene file.


